The Manager is the control plane for the Idun Agent Platform. It stores agent configurations, manages resources (guardrails, observability, memory, MCP servers), and serves materialized configs to running agents. Authentication and multi-tenancy are built in.Documentation Index
Fetch the complete documentation index at: https://docs.idunplatform.com/llms.txt
Use this file to discover all available pages before exploring further.
Agent dashboard
The dashboard shows all agents in your workspace as cards. Each card displays the agent name, framework badge (LangGraph or ADK), and status (Draft or Active). Resource indicators light up when attached: OBS, MEM, GUARD, MCP, SSO, INT. Metrics placeholders for Runs/24h, Avg Latency, and Error Rate appear on each card (planned). Search agents by name or framework, create new ones with “Create an agent”, or use “Connect a new agent” to enroll an existing agent.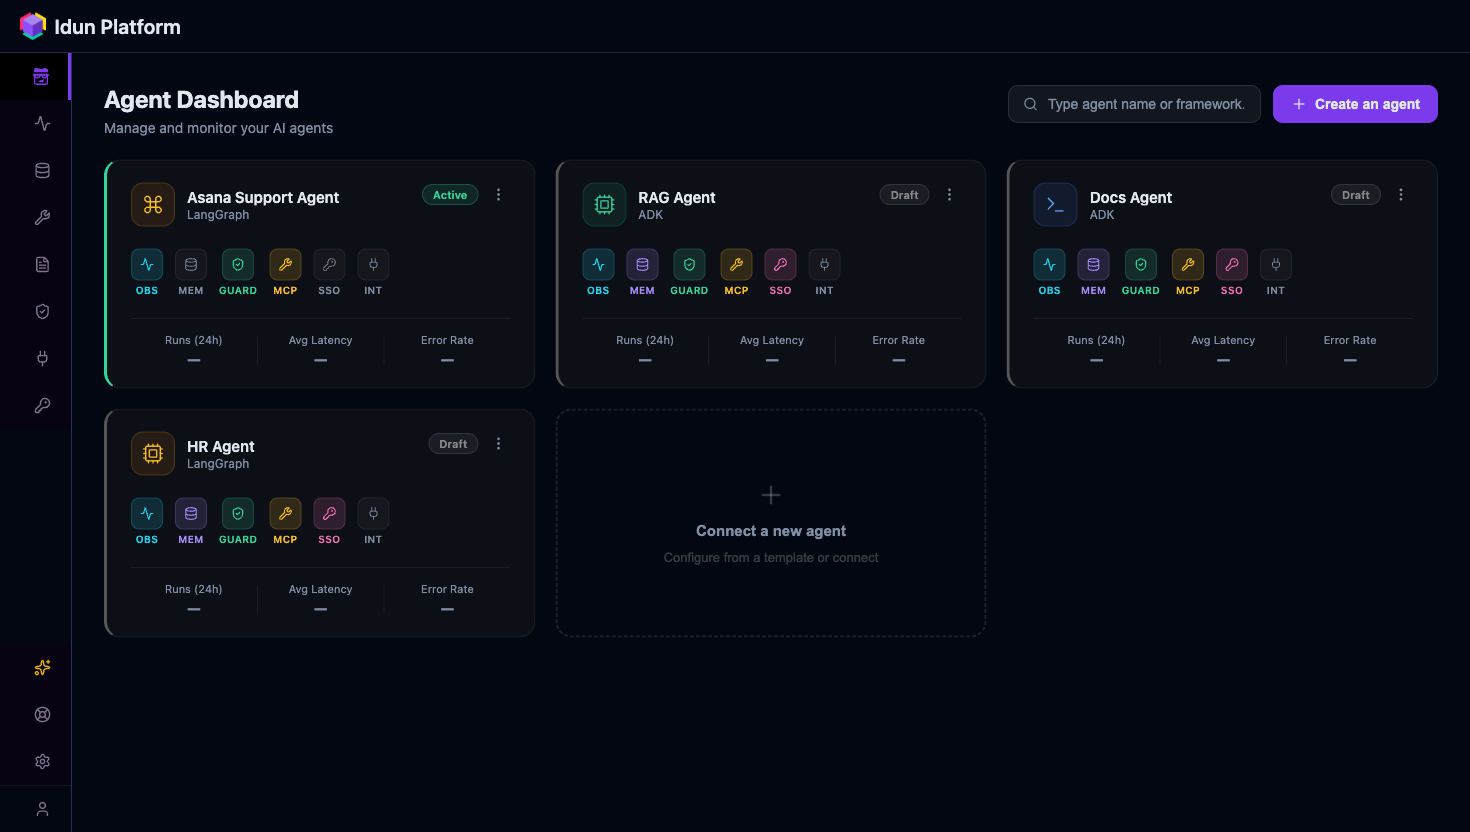
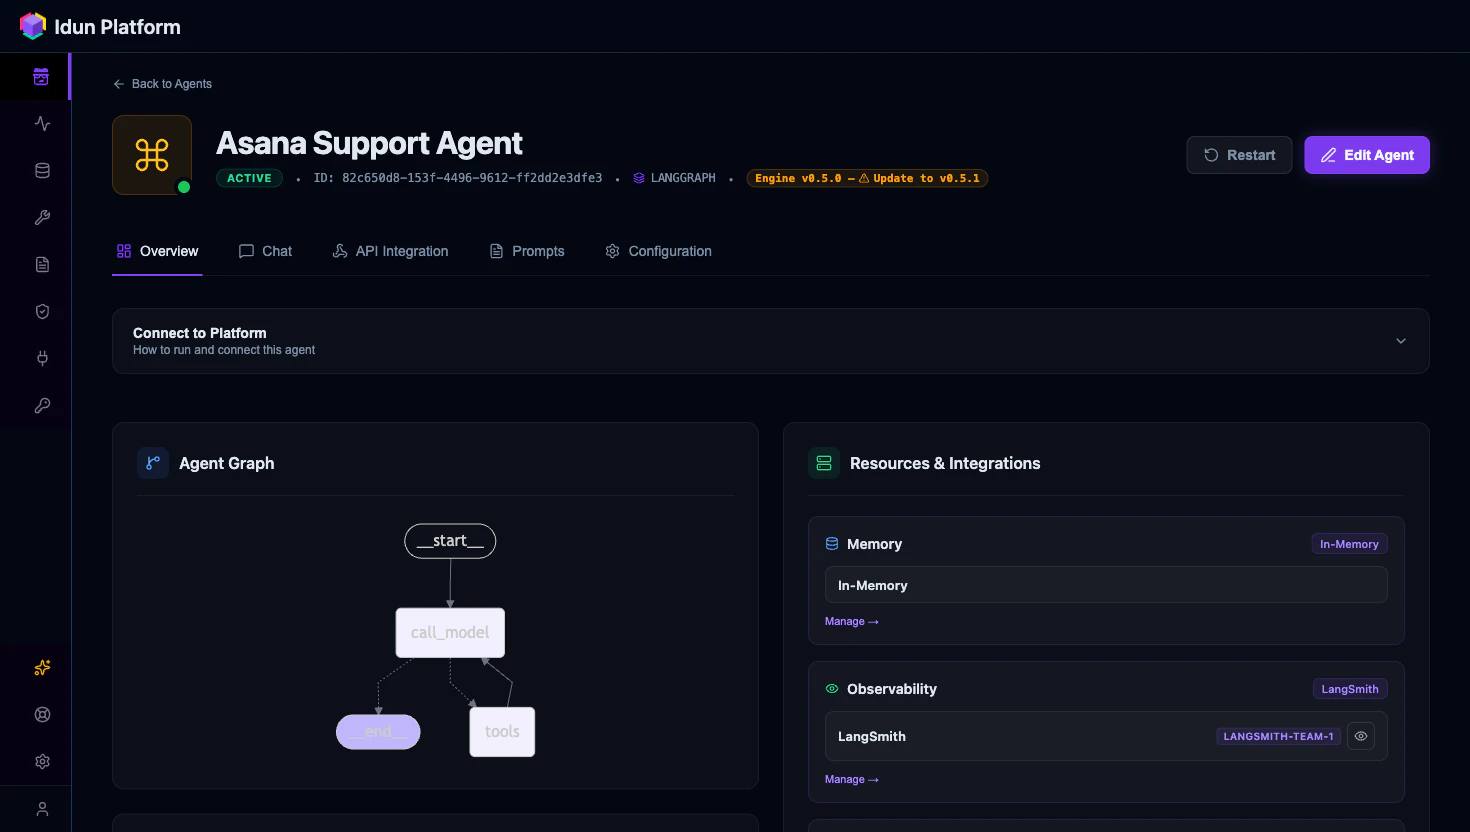
Agent detail
Click an agent card to open its detail view. Five tabs organize the agent’s configuration, testing, and API access.- Overview
- Chat
- API Integration
- Prompts
- Configuration
Connection instructions for enrolling the agent, a visualization of the agent graph, the agent details table, and framework configuration.Resource attachment buttons let you add observability, guardrails, memory, MCP servers, and integrations directly from here.
Resource catalog pattern
All resource pages follow the same catalog layout: provider cards organized by category. Click ”+” on a card to create a new configuration. Existing configs show Edit and Remove actions along with a “Used by N agents” badge. This pattern applies to guardrails, observability, memory, MCP servers, and integrations. Some providers are marked “Soon” for planned support.Guardrails
PII detection, topic restriction, toxicity filtering, ban lists
Observability
Langfuse, Phoenix, LangSmith, GCP tracing
Memory
Checkpoint backends for conversation history
Tool governance
MCP server configuration and tool isolation
User management
A table lists workspace members with Name, Email, Role, and Actions columns. Use the “Add user” button to invite new members. Search and pagination are available for larger teams.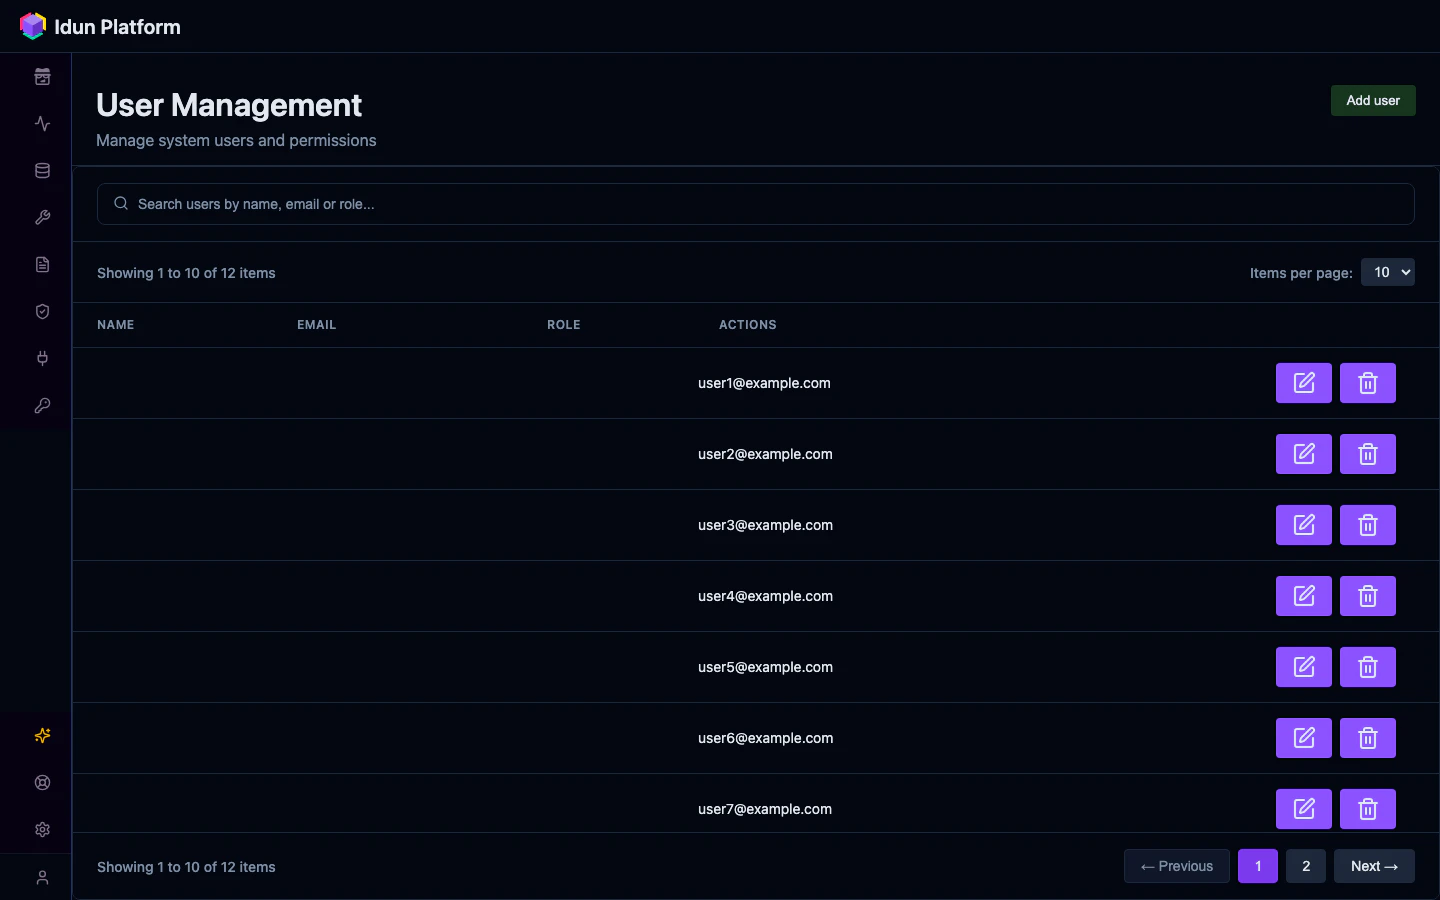
Settings
The Settings page has two tabs: General and Users. Under General, you configure the workspace name. The Users tab mirrors the user management table described above.Lifecycle: create, enroll, configure, reload
The core workflow follows these steps.Create an agent in the UI
Open the dashboard and click “Create an agent.” Choose the framework, give it a name, and save.
Enroll from code
Set the environment variables and start the agent in managed mode:The agent connects to the Manager and fetches its materialized config on startup.
Agent connects and fetches config
The engine calls
GET /api/v1/agents/config with the API key in the Authorization header. The Manager returns a pre-computed EngineConfig JSON covering agent settings, guardrails, MCP servers, observability, memory, and prompts.Add resources from agent detail
Navigate to the agent’s Overview tab. Use the resource attachment buttons to add guardrails, observability, memory, MCP servers, or integrations. Each addition recomputes the materialized config.
The materialized config is stored as a JSONB column in PostgreSQL. It recomputes whenever agent resource associations change or a linked resource is updated, so the engine’s read path has zero joins and returns instantly regardless of how many resources an agent references.
Next steps
API reference
Explore the Manager API endpoints and resource schemas.
CLI
Run and configure agents from the command line.
Deployment
Deploy the Manager to production.