You built a LangGraph agent that works in a notebook. Now you need it behind an API with authentication, conversation memory, guardrails, and tracing. This guide takes you from a workingDocumentation Index
Fetch the complete documentation index at: https://docs.idunplatform.com/llms.txt
Use this file to discover all available pages before exploring further.
StateGraph to a production endpoint in under 5 minutes.
The production gap
LangGraph gives you a graph-based runtime for building agents. It does not give you the infrastructure to serve them. When you move fromgraph.invoke() in a script to handling real traffic, you run into five missing pieces:
No API layer
No built-in HTTP server. You write FastAPI routes, CORS, request parsing, and streaming yourself. LangServe is deprecated. LangGraph Platform requires a LangSmith account.
No conversation memory
LangGraph supports checkpointers, but you wire up database connections, async lifecycle, and thread ID routing from HTTP requests yourself.
No guardrails
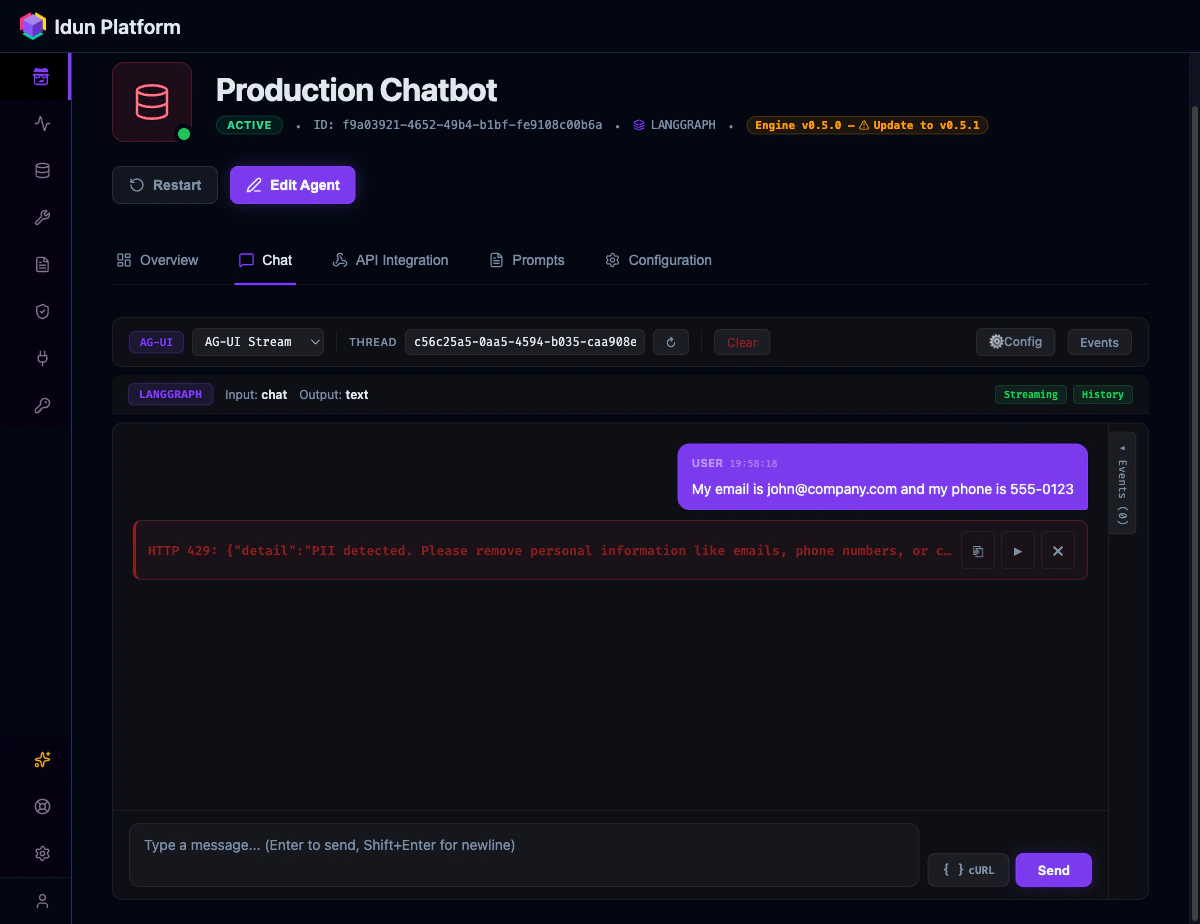
Your agent will process PII, jailbreak attempts, and toxic content unless you build input/output validation from scratch.
No observability
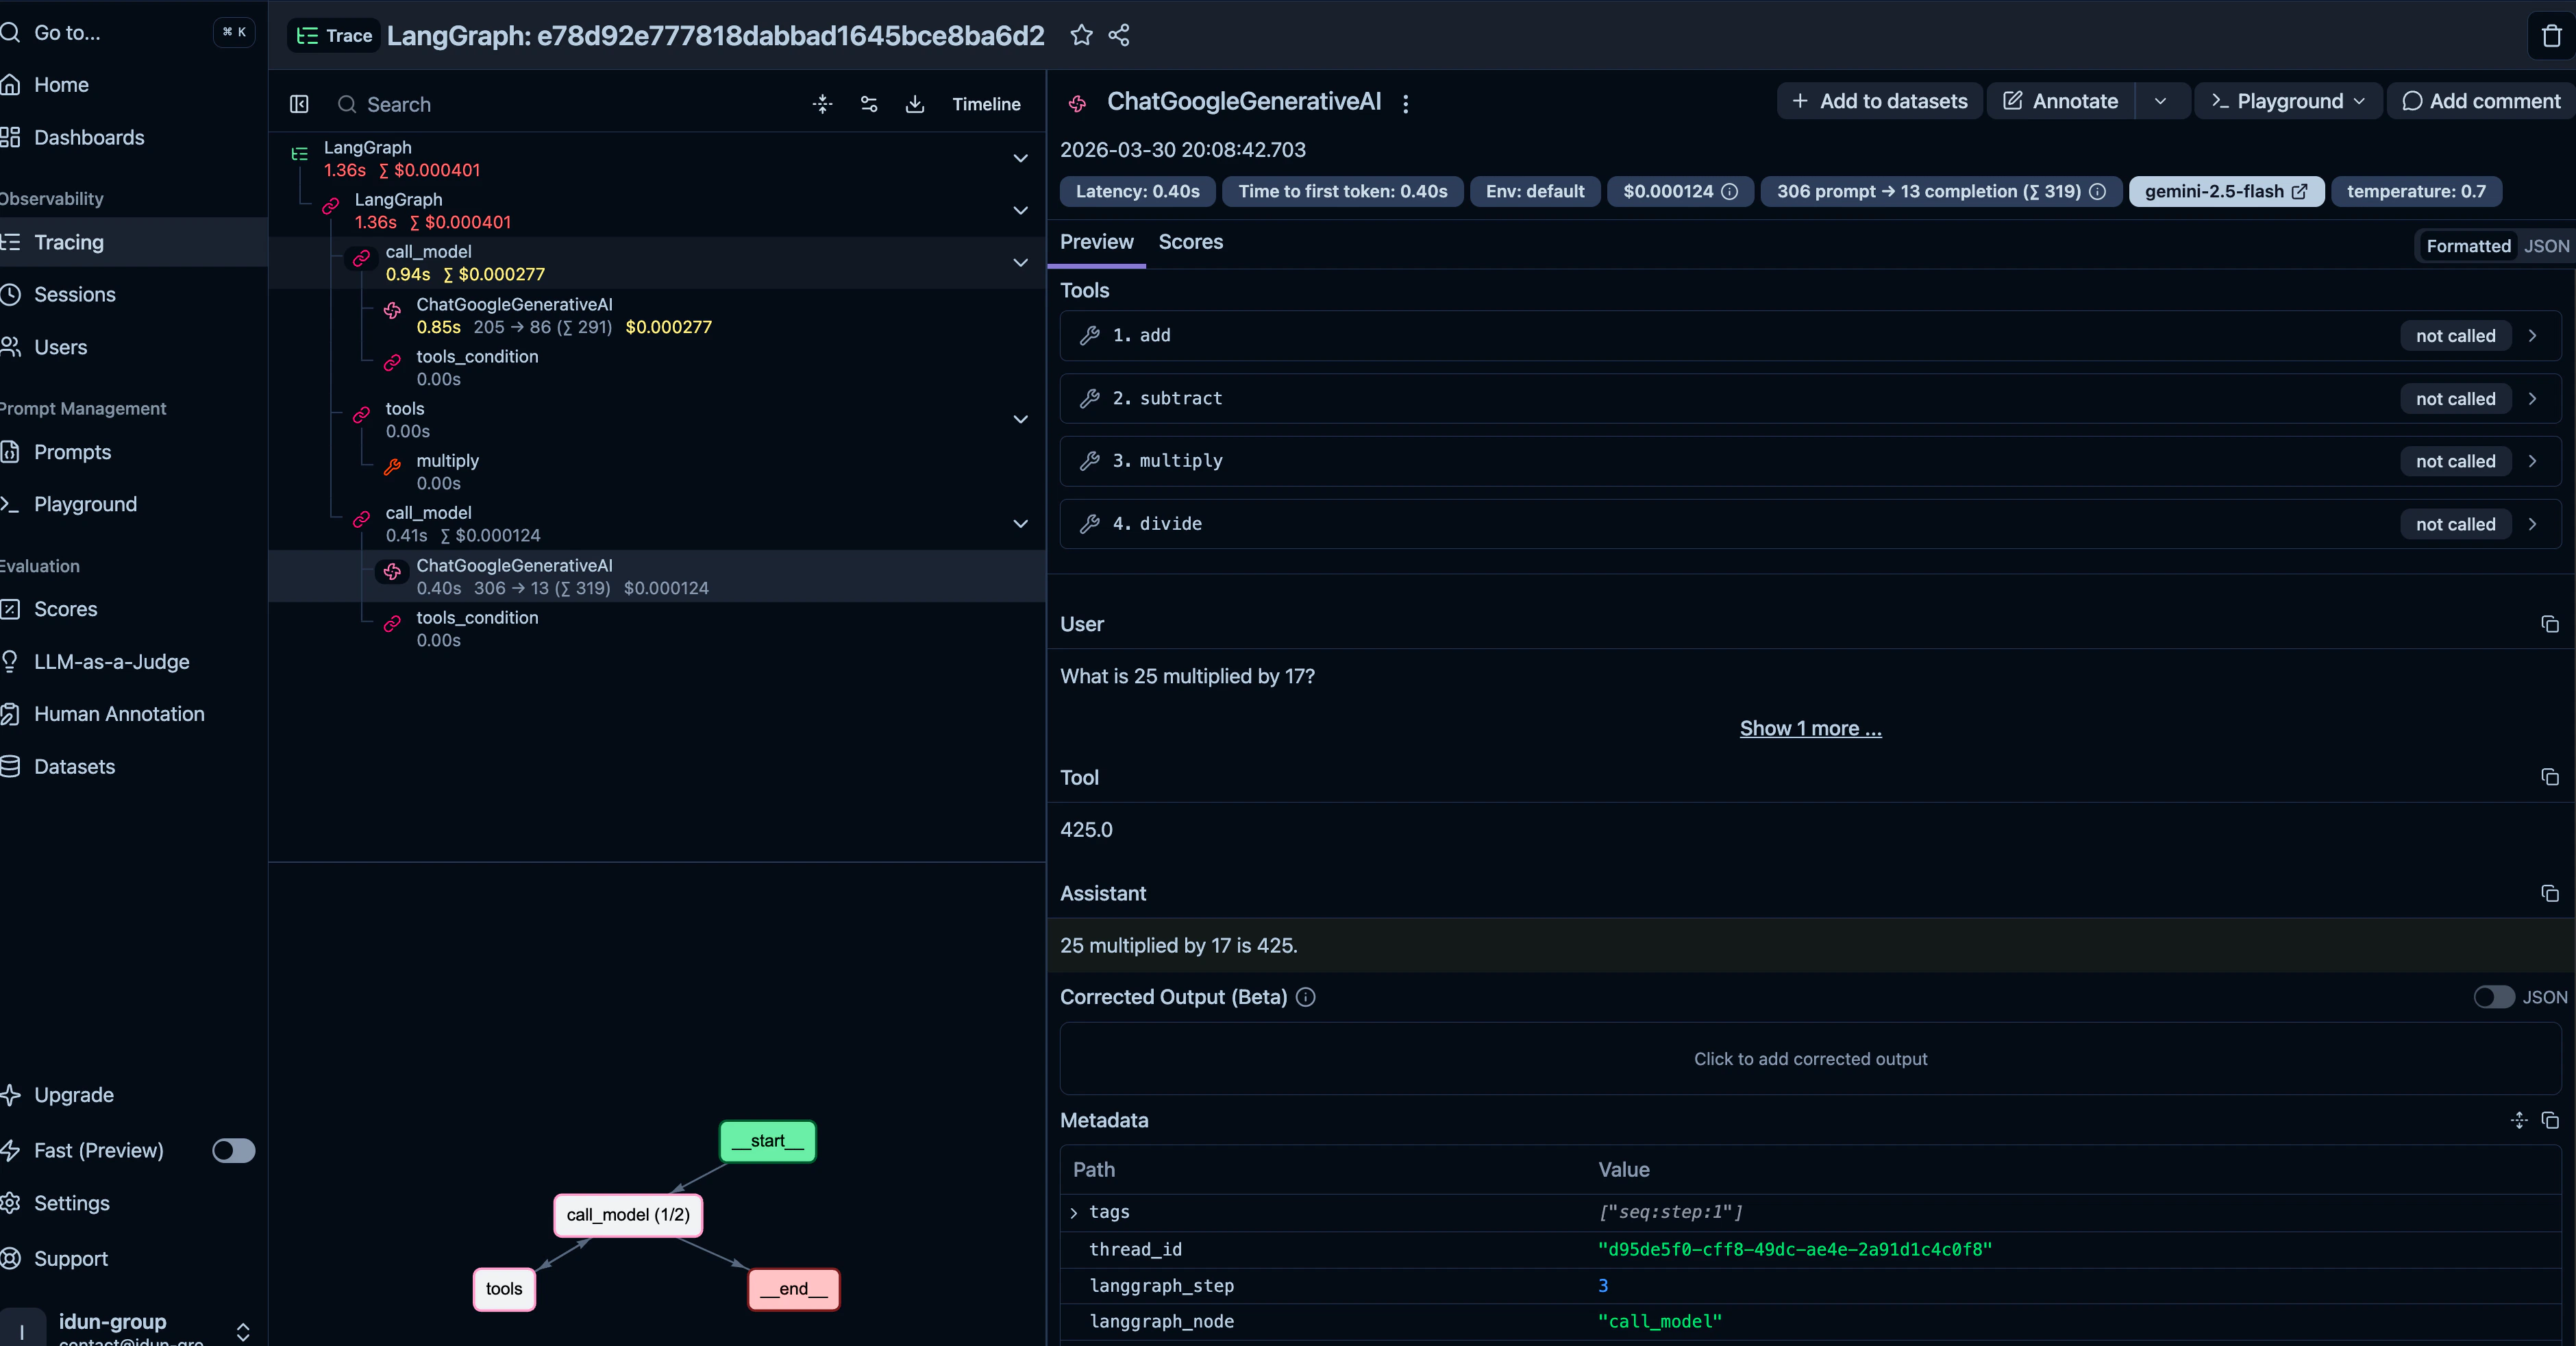
When a production agent returns garbage at 3am, you need traces. LangGraph has no built-in tracing. You instrument it yourself.
astream_events that you need to map to a protocol your frontend understands.
Idun Agent Platform fills all five gaps. Your StateGraph stays unchanged. Idun wraps it into a FastAPI service with AG-UI streaming, configurable memory, guardrails, and multi-provider observability. Configure everything through a YAML file or through the Manager UI.
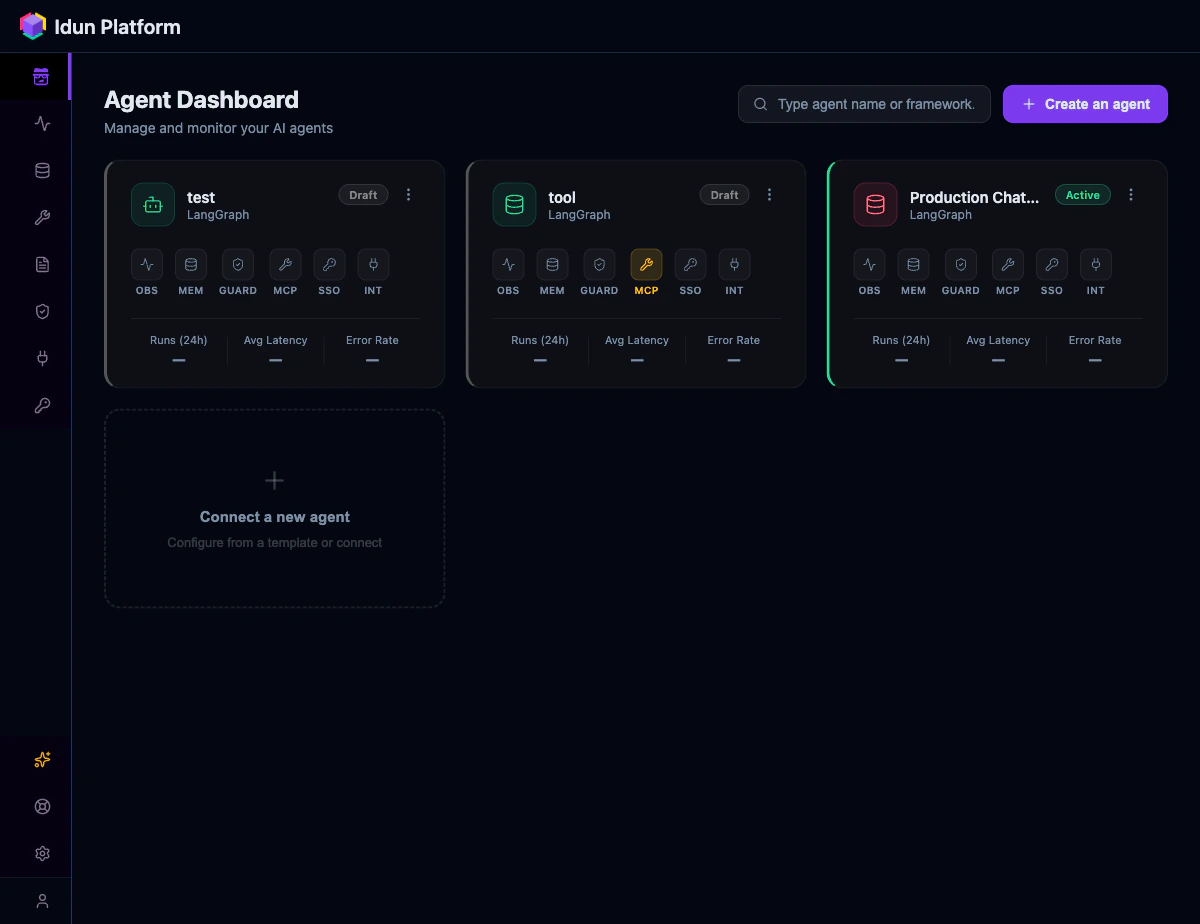
What you will build
Prerequisites
- Python 3.12+
- A Gemini API key (or any LangChain-compatible LLM)
- 5 minutes
For the Manager UI path, you also need Docker and Docker Compose.
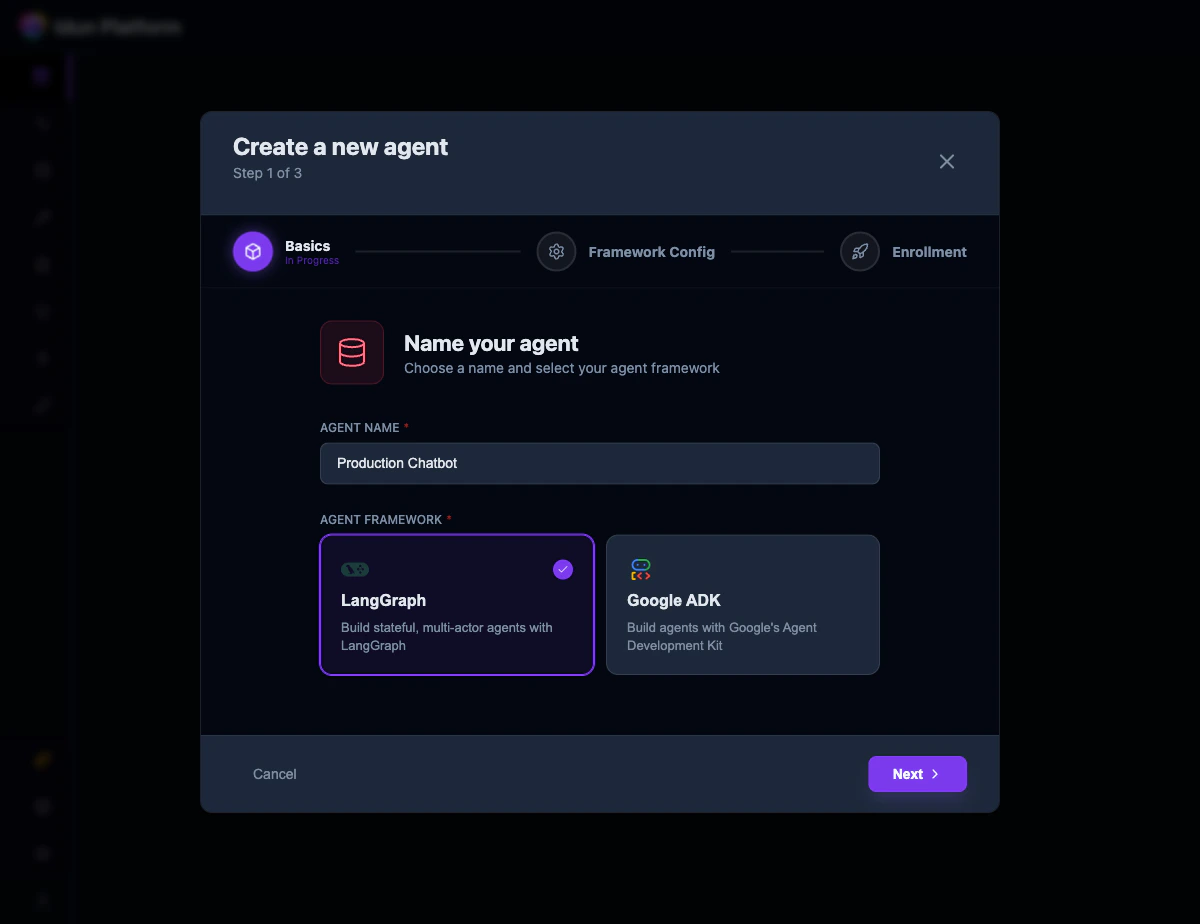
Choose your path
- Config file
- Manager UI
Install the engine SDK, write a YAML config, and run the agent from the CLI. Best for developers who want full control and minimal dependencies.
Step 1: Write your LangGraph agent
This step is the same regardless of which path you choose. Create a project directory with an agent that has tool calling built in:agent/agent.py
- The variable
workflowis an uncompiledStateGraph. Do not call.compile(). Idun compiles it for you with the configured checkpointer and store. - The state uses
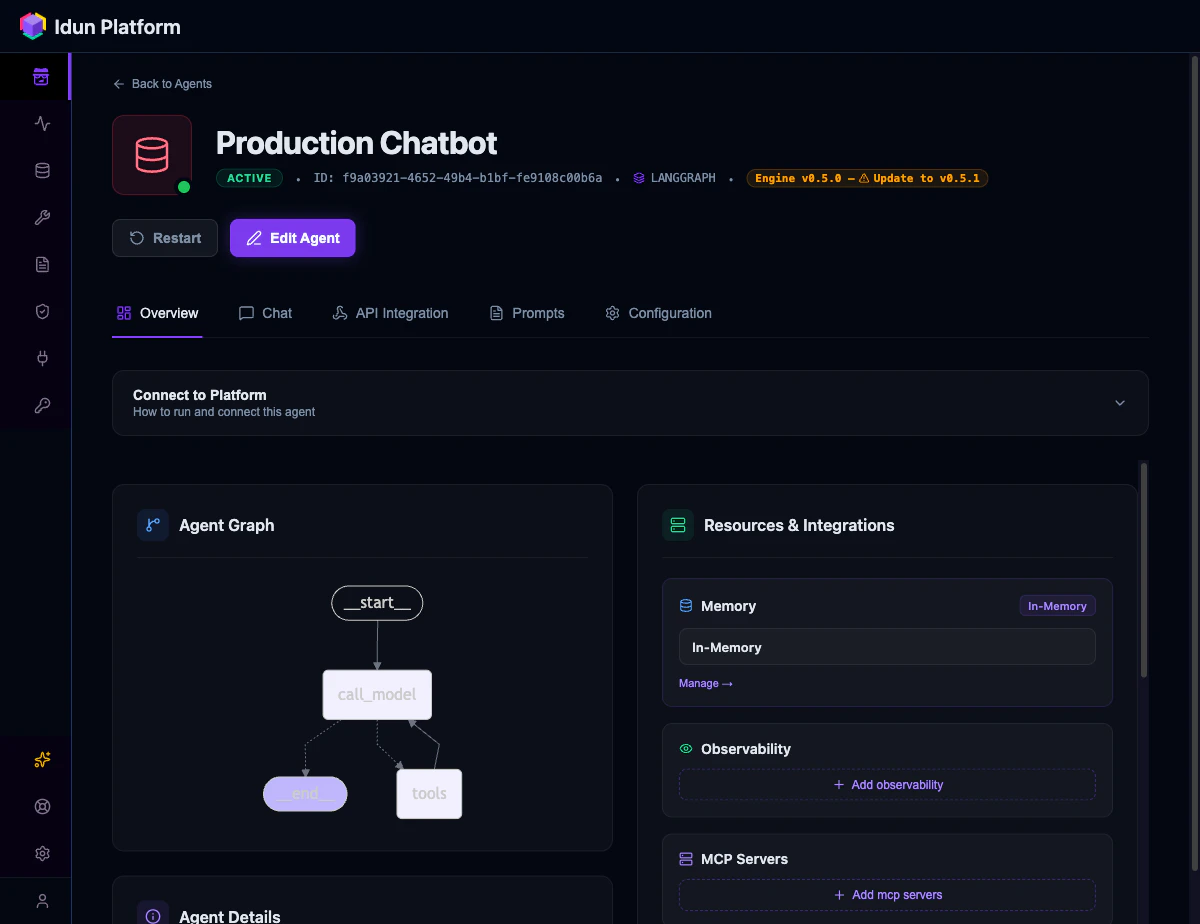
MessagesState(aTypedDictwith a singlemessagesfield). Idun auto-detects this as a chat-mode agent. If your state has additional fields, Idun treats it as a structured-input agent and exposes the full JSON Schema through the capabilities endpoint.
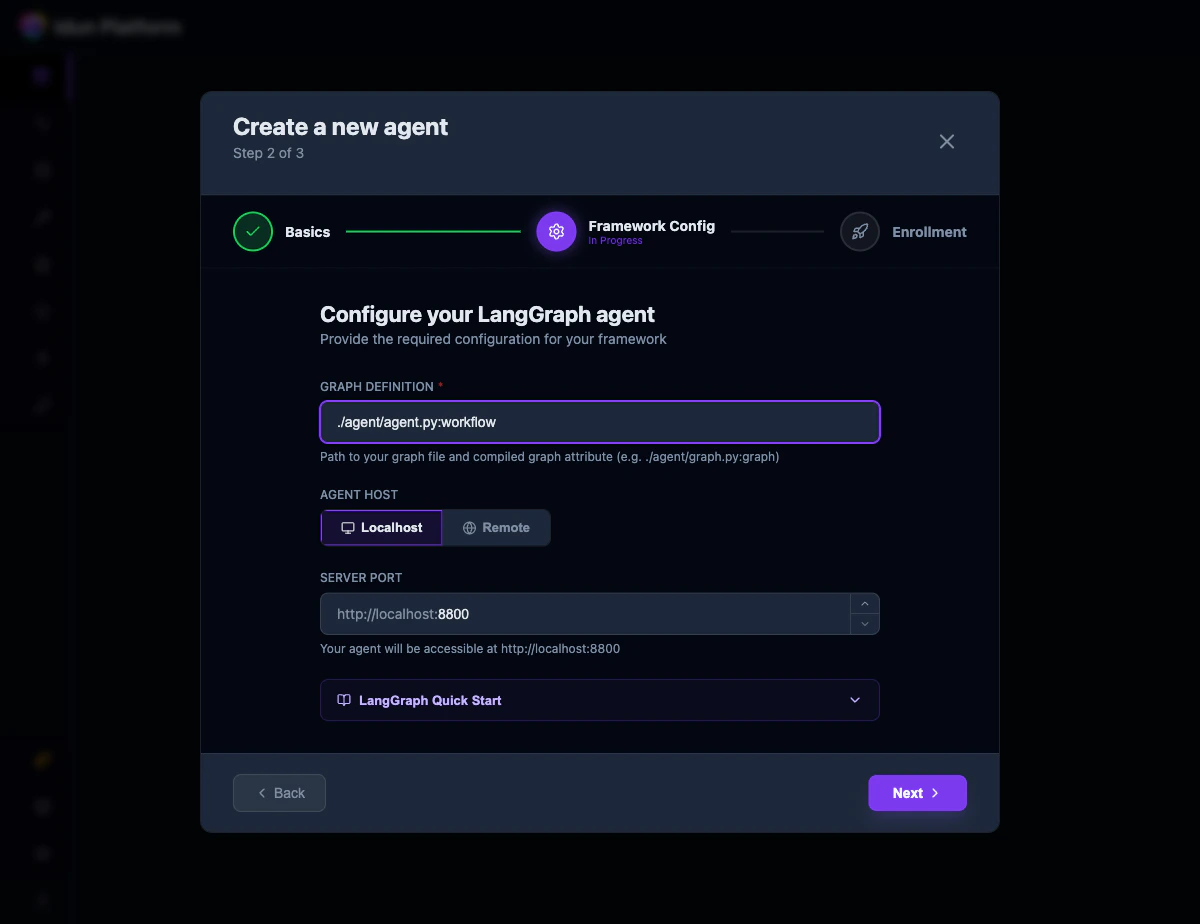
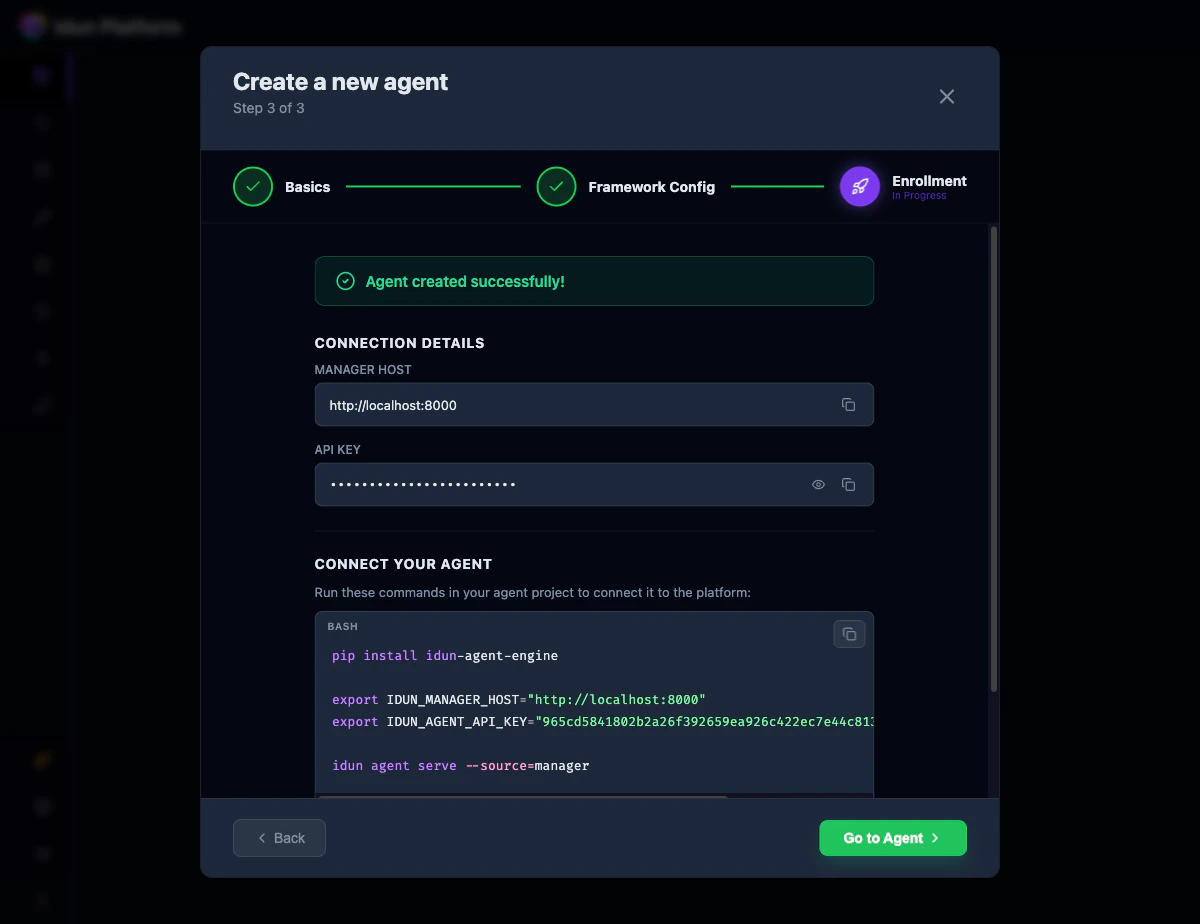
Step 2: Set up Idun and run the agent
- Config file
- Manager UI
Install the engine SDK:Create That is a complete, valid config. Three fields define your entire setup:You should see:
config.yaml next to your agent directory:config.yaml
type: LANGGRAPHtells Idun which adapter to use.graph_definition: "./agent/agent.py:workflow"points to your file and variable. Format:path/to/file.py:variable_name. Idun dynamically imports it.checkpointer.type: memoryenables in-memory conversation persistence. Every request with the samethread_idcontinues the conversation.
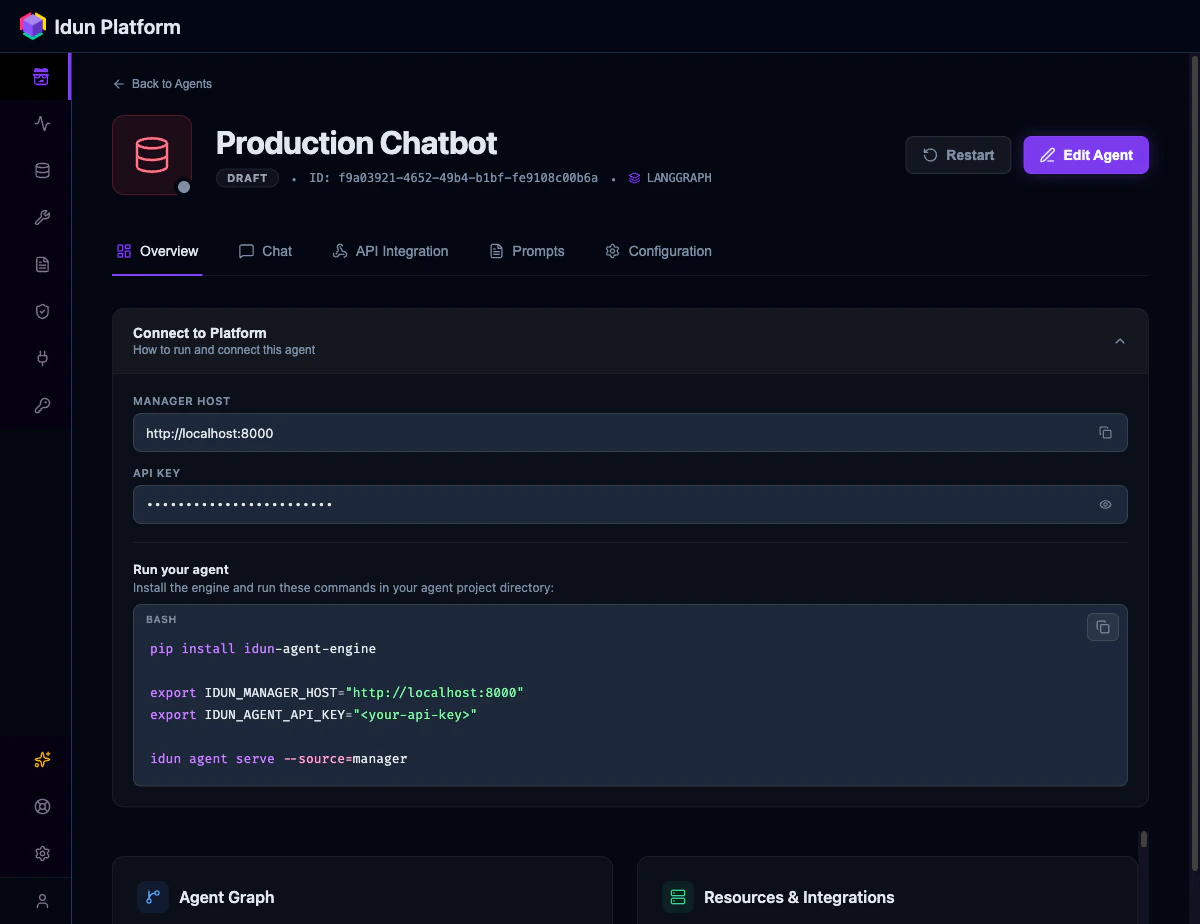
http://localhost:8800/docs to see the full OpenAPI spec.
Step 3: Test the agent
- Config file
- Manager UI
The canonical endpoint is You get back a stream of AG-UI events:
POST /agent/run, which implements the AG-UI streaming protocol used by CopilotKit, Vercel AI SDK, and other modern chat frontends.RunStarted, TextMessageStart, ToolCallStart, ToolCallEnd, TextMessageContent (with deltas), TextMessageEnd, RunFinished. Your frontend renders these as they arrive.You can also check capabilities and health:
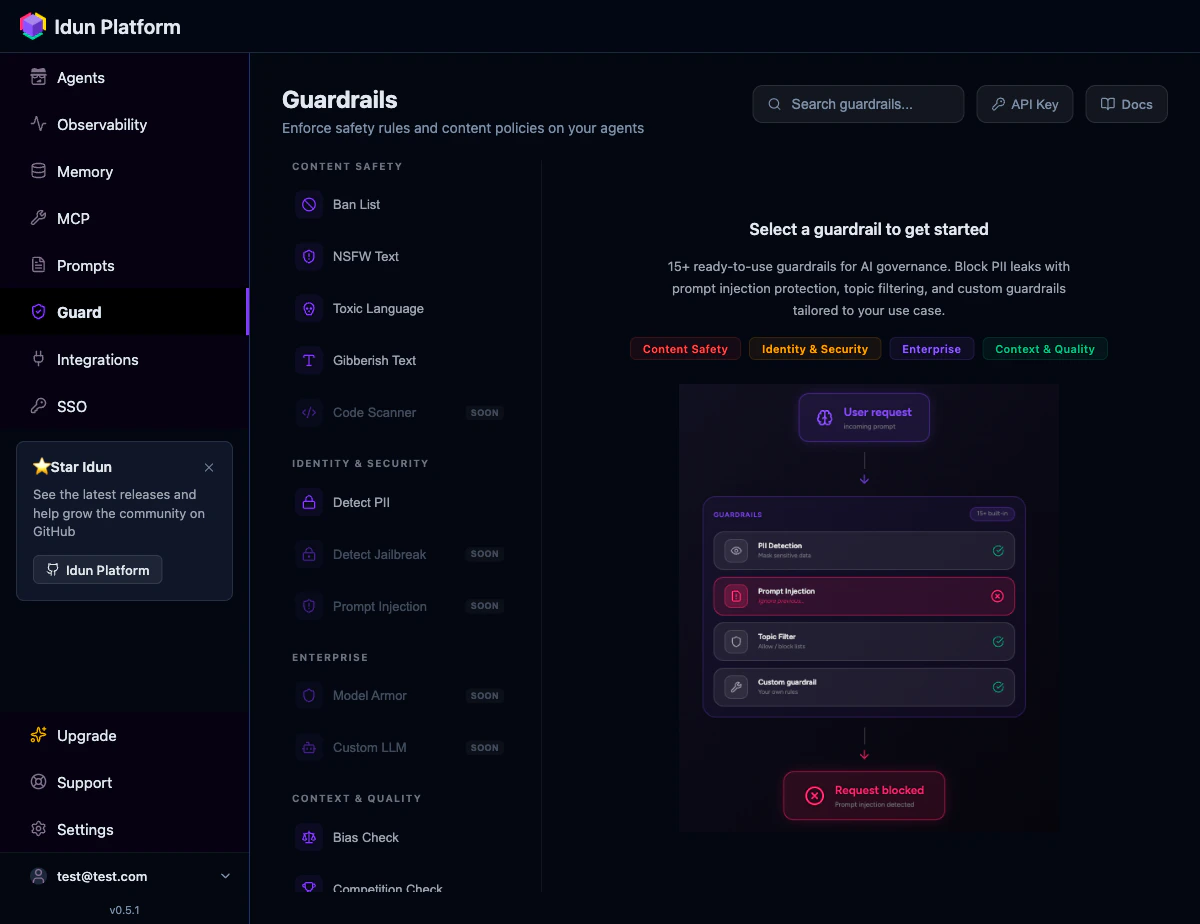
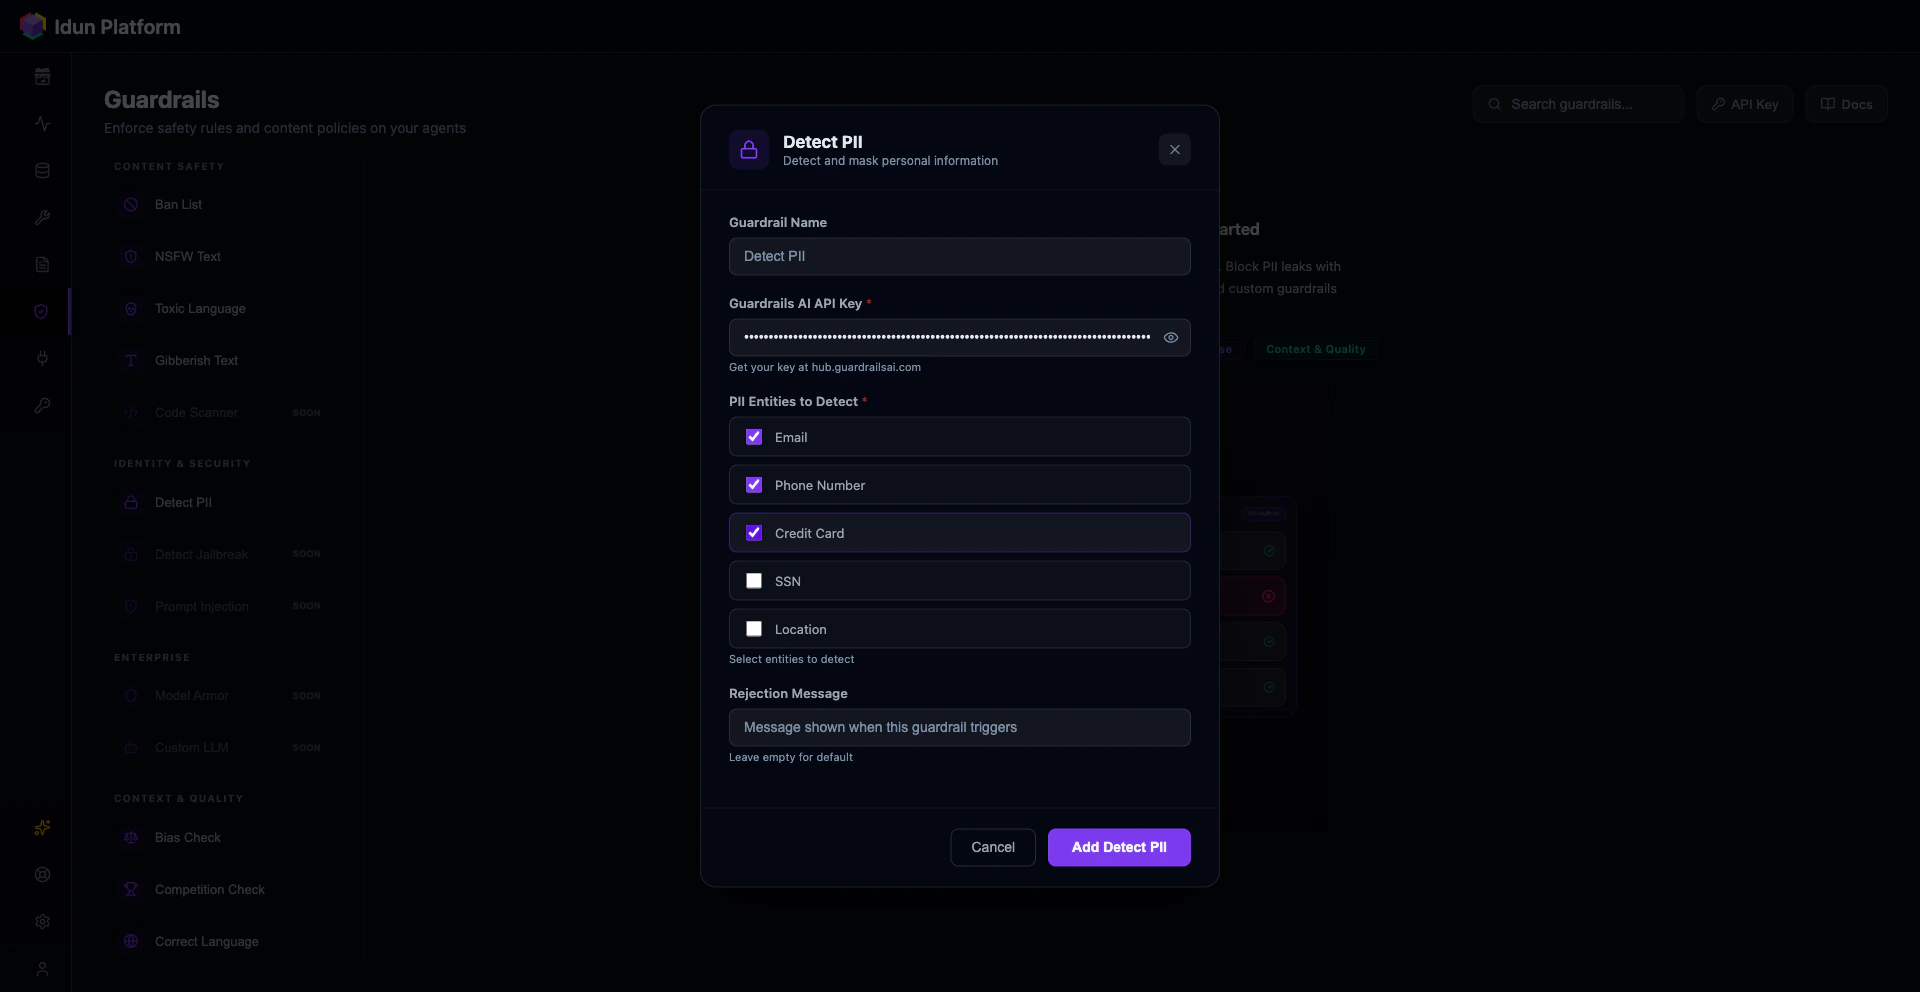
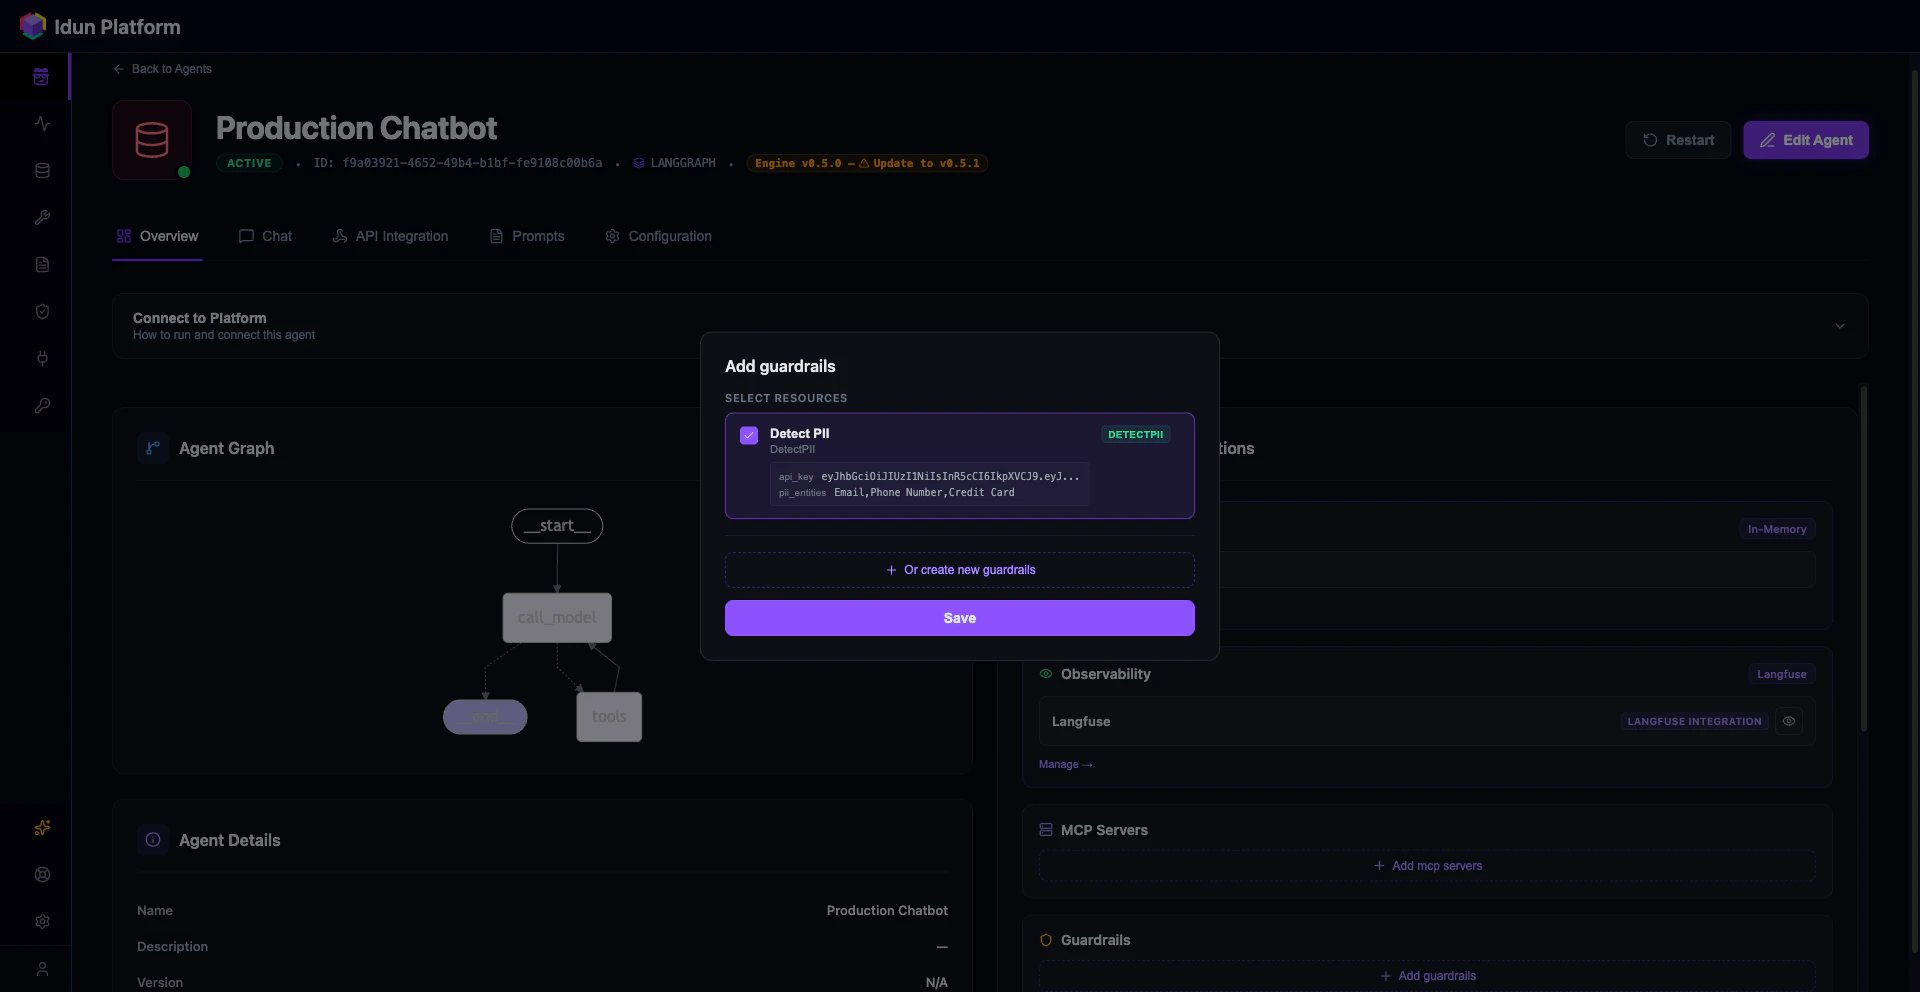
Step 4: Add your first guardrail
Guardrails validate input and output at the API boundary. They run before and after your agent, blocking requests that violate your policies. Idun uses Guardrails AI validators, downloaded and run locally.- Config file
- Manager UI
Add a Set your Guardrails AI API key and restart:
guardrails section to your config.yaml:config.yaml
- Config file
- Manager UI
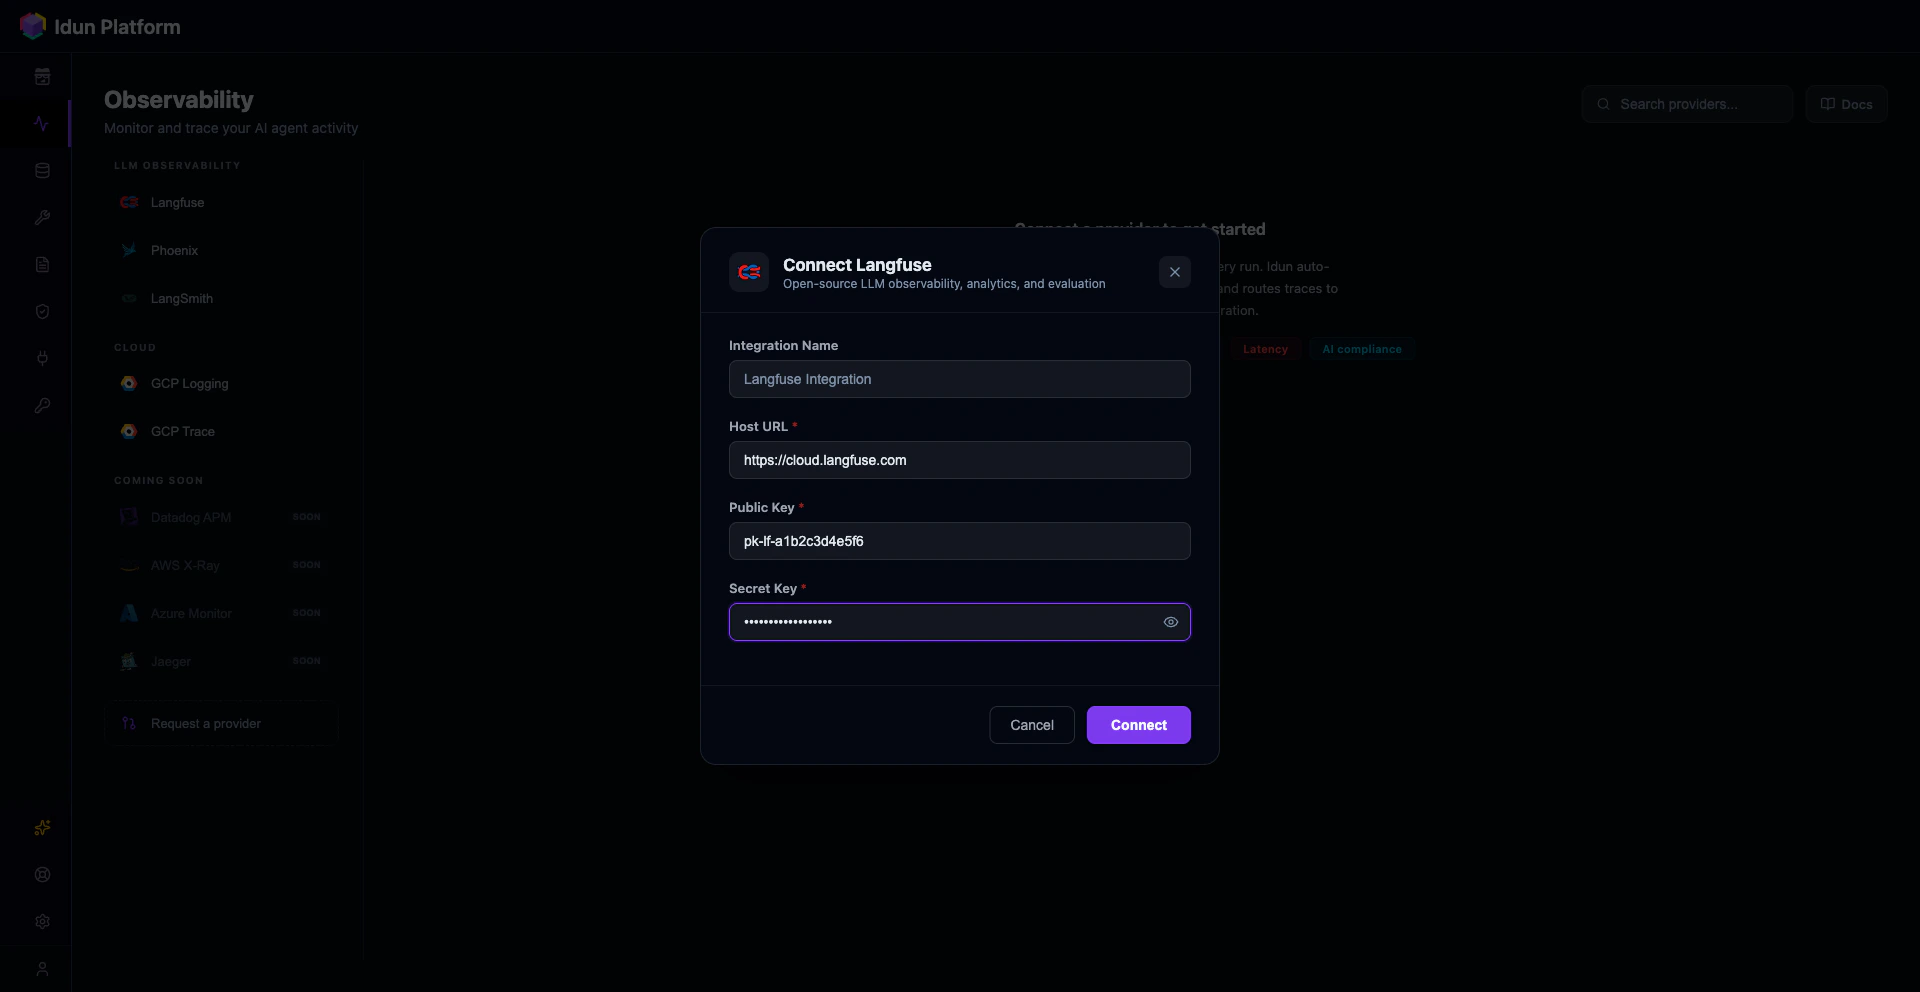
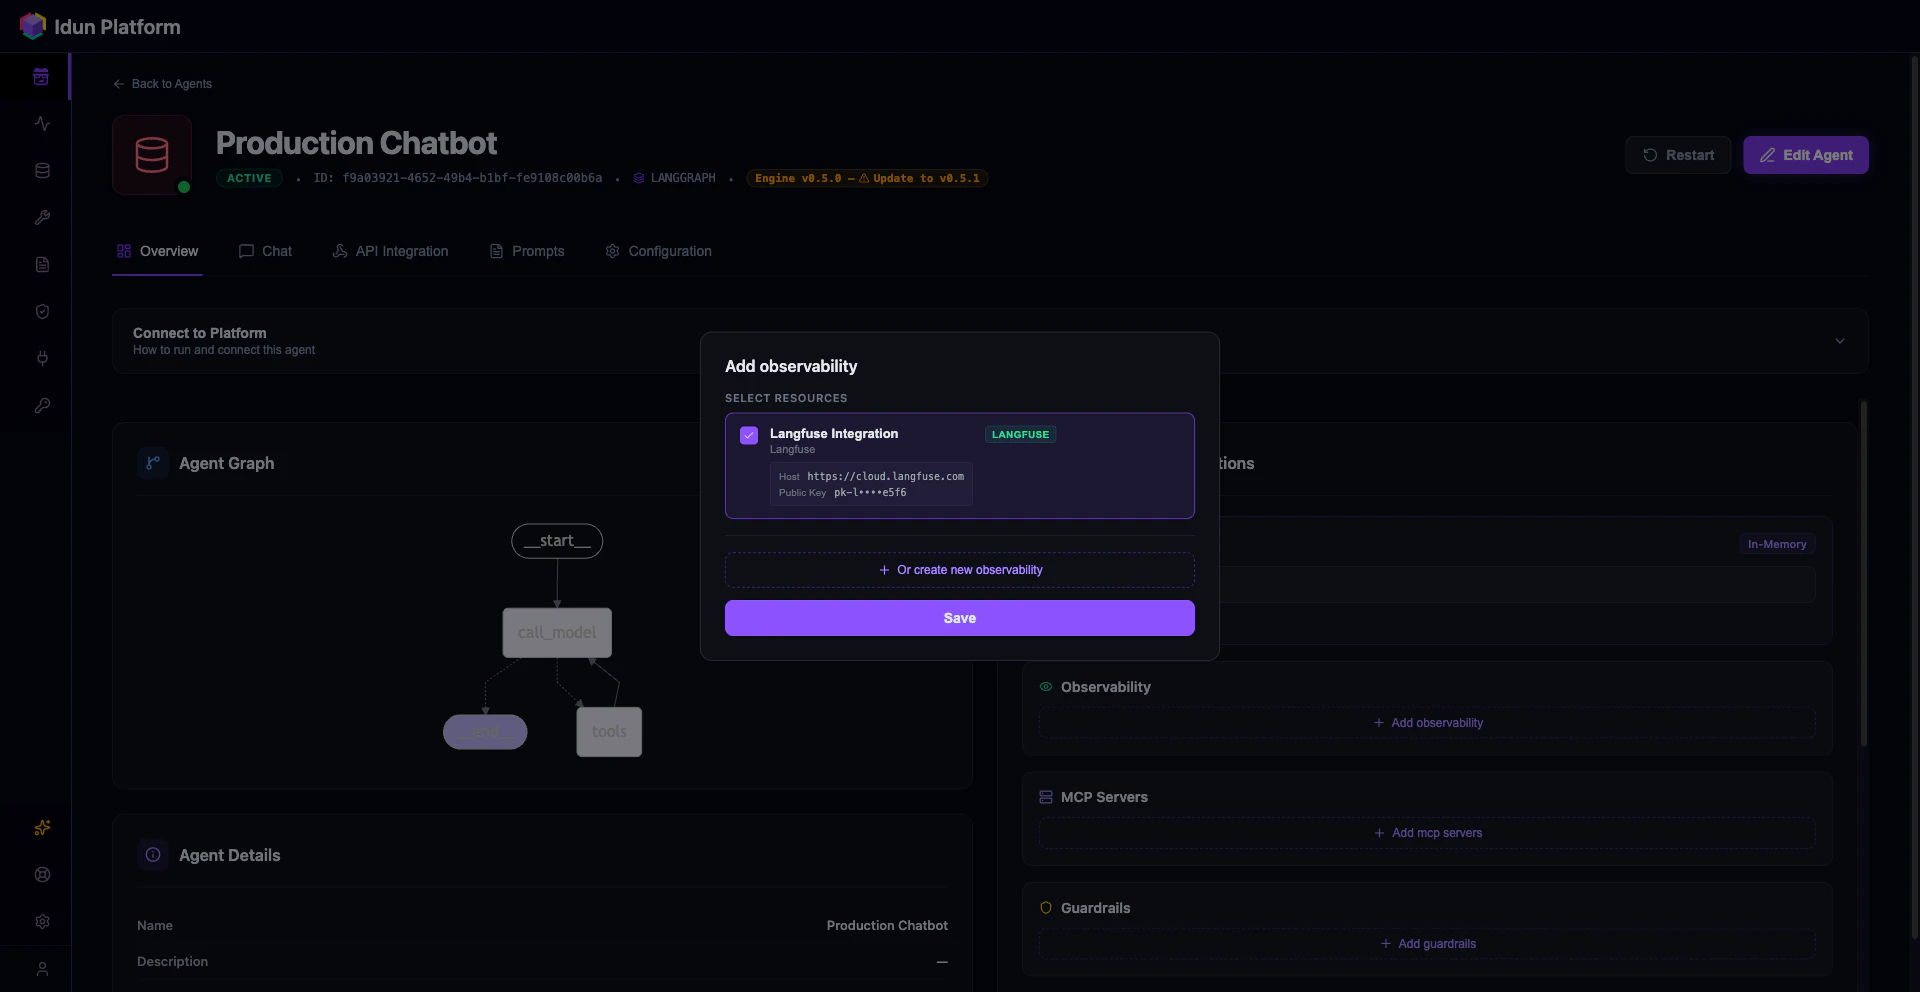
Step 5: Add observability with Langfuse
- Config file
- Manager UI
Add an Restart the server. Every invocation now shows up in your Langfuse dashboard with full traces.
observability section to your config.yaml:
| Provider | Mechanism |
|---|---|
| Langfuse | LangChain callback handler |
| Arize Phoenix | OpenTelemetry + OpenInference |
| LangSmith | LangChain callback handler |
| GCP Cloud Trace | OpenTelemetry span exporter |
| GCP Cloud Logging | Python logging integration |
observability list (or attaching multiple configs in the UI). They do not conflict.
Step 6: Upgrade to PostgreSQL memory
In-memory checkpointing loses conversations when the server restarts. For production, switch to PostgreSQL.- Config file
- Manager UI
Step 7: Connect a frontend
The/agent/run endpoint implements the AG-UI protocol, which is natively supported by CopilotKit and compatible with any SSE-consuming frontend.
- Config file
- Manager UI
For standalone deployments, any frontend that speaks AG-UI or SSE can connect directly to
http://your-host:8800/agent/run.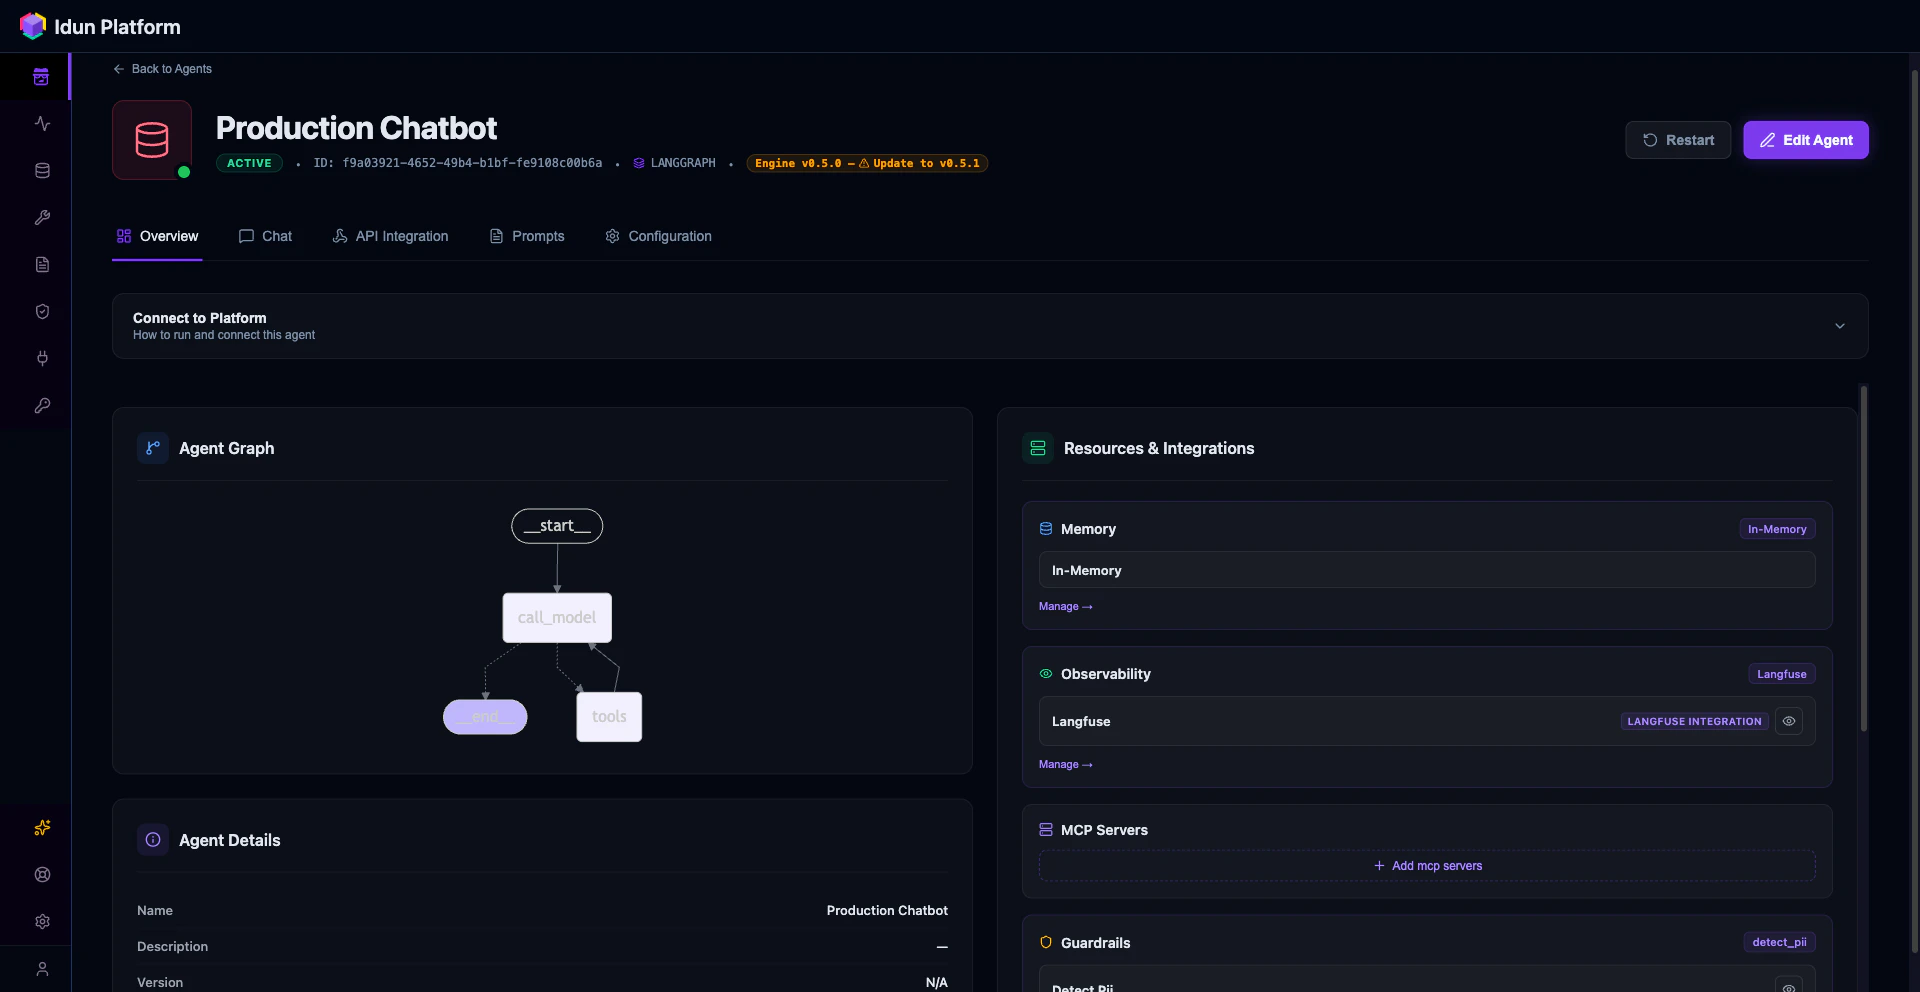
Full config.yaml
Here is the complete config file with everything from this guide: agent, guardrails, observability, and PostgreSQL memory. Copy it and adjust the values for your setup.config.yaml
How Idun compares to alternatives
| Capability | Manual FastAPI | LangServe (deprecated) | LangGraph Platform | Idun Agent Platform |
|---|---|---|---|---|
| API serving | You build it | Provided | Provided (cloud) | Provided (self-hosted) |
| AG-UI streaming | You build it | Not supported | Not supported | Built in |
| Guardrails | You build it | Not supported | Not supported | 15 types, YAML config |
| Observability | You build it | Limited | LangSmith only | 5 providers, simultaneous |
| Memory/checkpointing | You wire it | Limited | Built in | YAML config, 3 backends |
| MCP tool servers | You build it | Not supported | Not supported | YAML config |
| SSO/OIDC | You build it | Not supported | Cloud-managed | YAML config |
| Vendor lock-in | None | LangChain ecosystem | LangSmith account required | None (open source, GPL-3.0) |
| Self-hosted | Yes | Yes | No (cloud only) | Yes |
Next steps
You now have a production LangGraph agent with streaming, memory, guardrails, and observability. From here:- Add MCP tool servers to give your agent access to external tools via the Model Context Protocol. Add an
mcp_serverssection to your config or create one in the MCP page of the dashboard. - Add SSO/OIDC protection to require JWT authentication on all agent endpoints. Add an
ssosection with your OIDC issuer and client ID, or configure it through the SSO page. - Connect messaging integrations (WhatsApp, Discord, Slack) to expose your agent on external channels. Each is a config section with provider credentials, or a card in the Integrations page.
- Manage prompts with versioning, Jinja2 variables, and per-agent assignment through the Prompts page.